Being in the wild is dope, and so is keeping it clean for future generations. If you’re hiking, camping or backpacking, you can minimize your impact on the environment with Leave No Trace principles and ensure everyone has a good time with basic trail etiquette tips. Now let’s get wild.
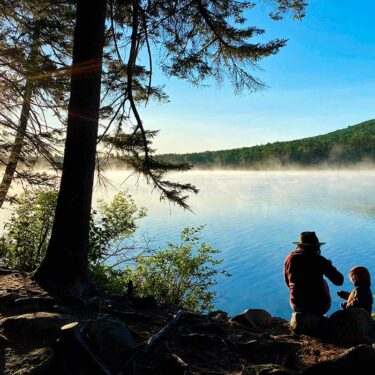
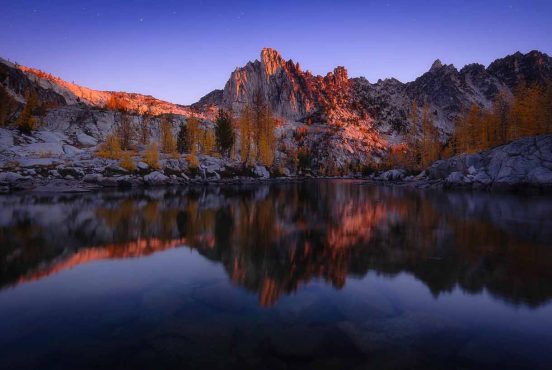
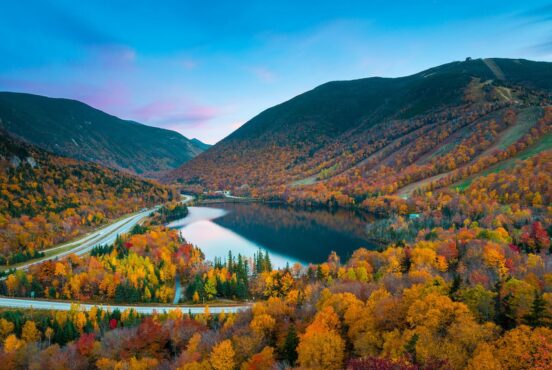
There’s something about feeling completely alone — vulnerable, yet confident — that is empowering. It’s a sort of grounded invincibility, the feeling that you can successfully exist alongside Mother Nature on your own. This is the reason behind backpacking solo.
Will you spend every moment in a zen like state, ensconced in fresh air? Well, no. When you go solo, you alone have to carry all the things and manage all the risks. Inevitably there will be some cursing, yelling, or tears. But you alone have the power to mitigate many of those risks through training and careful planning.
Taking the plunge into solo backpacking requires preparation. Most people focus on training the body to handle the physical assertion required for the trip, but training your mind is equally important. Take the time to build up your mental game through learning new skills/knowledge, and practicing regulating your emotions before you head out on trail alone.
A successful solo adventure also relies on careful planning when it comes to your route and what you pack. And if you take nothing else from reading this, the most important thing is to make a detailed itinerary, share it with someone you trust, and then stick to it.
Related Read: 11 Backpacking Trips in the U.S. That Should be on Your Bucket List
Step 1: Perfect Your Mental Game
The key to a successful solo backpacking trip is not picking the trails with the best weather or the most jaw-dropping views. The best way to have a safe, fun trip is to train your brain. Get real good at having honest conversations with yourself, a skill that will come in handy when you’re alone on trail.
Knowledge is Power
Before you decide where to go, have a conversation with yourself where you assess your abilities, skills, strengths and especially weaknesses when it comes to backpacking. The thing about going solo is you cannot rely on anyone else to be the expert when something goes wrong.
Not sure how to stabilize your arm if you fall and dislocate your shoulder? Consider taking a wilderness first aid course. Have to think for a minute how to interact with a mountain lion while on trail? Brush up on your knowledge of wildlife, plants, and bugs in the area, so you can react confidently and immediately.
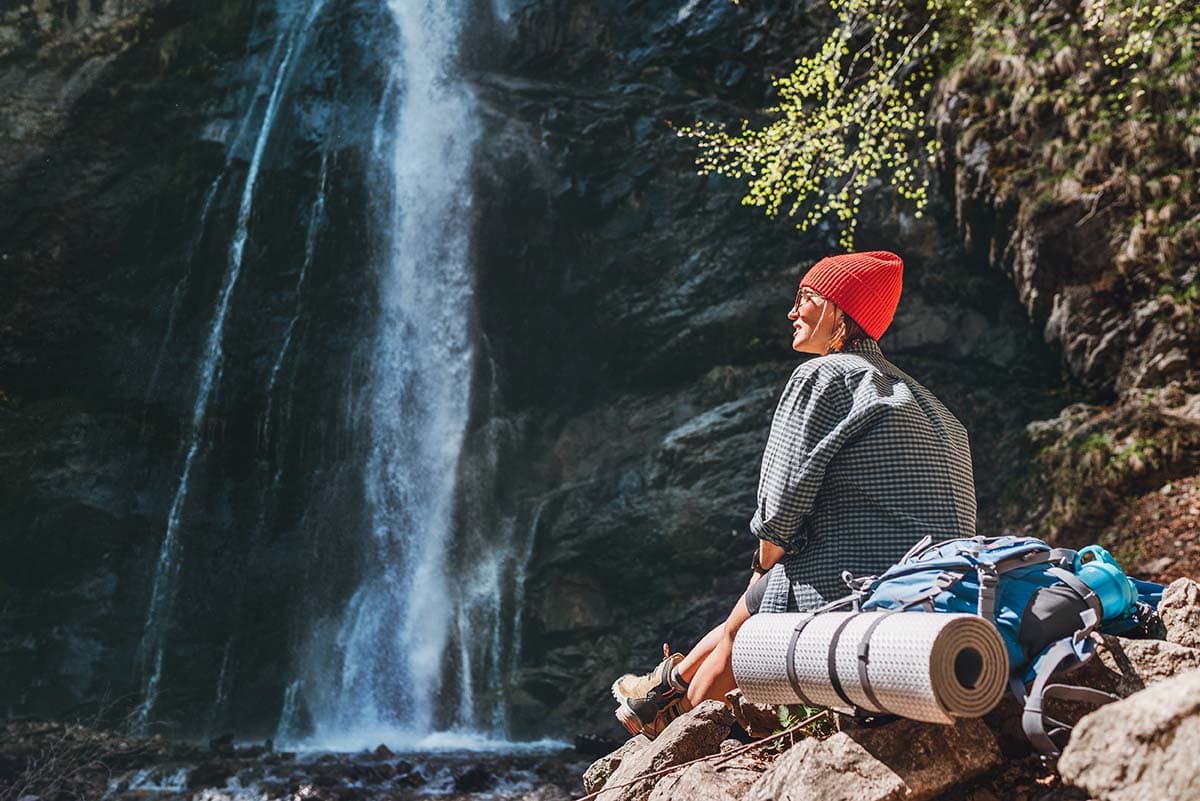
Get Comfy Being Alone
Equally important to gaining knowledge about aspects of backpacking is having a good handle on regulating your emotions. You need to be prepared to feel alone. After all, getting some quality alone time in nature is probably why you’re doing this, but that doesn’t mean you’re good at being alone.
Bring something (light) to entertain yourself if you start to get too much in your own head. That could be a notebook, playing cards, a book, binoculars, a premade scavenger hunt — anything that will give your mind a change of pace.
Have a plan to keep yourself calm if something goes wrong, and practice it. That may look like striking your favorite yoga pose, taking hot cocoa or elevator breaths, or pulling your favorite bubble popper out of your pack when you start to feel anxious . Figure out what mindful strategy works best for you ahead of time so you have it ready when the unexpected arises.
Another way to grow your confidence for backpacking solo is a dress rehearsal. Pack everything up and go car camping somewhere for a night. Put some miles under your belt with a full pack on and build some confidence with self-sufficiency around your campsite.
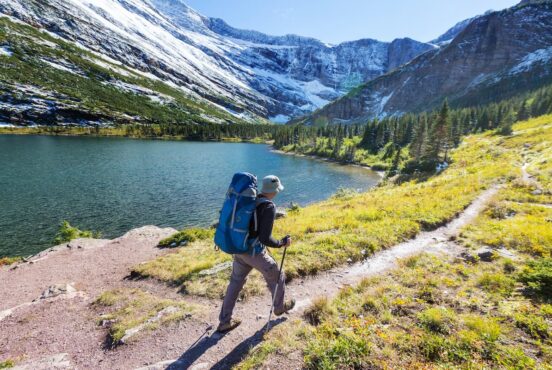
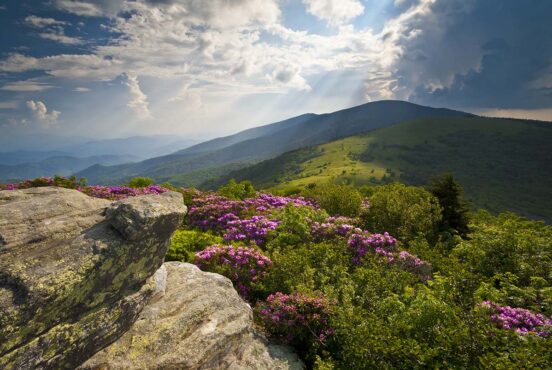
Step 2: Choose Your Adventure
Once you’ve addressed your knowledge gaps and practiced being alone outside, it’s time to hammer out the details of your adventure. Just because you’re excited to head out alone, doesn’t mean your first solo trip needs to be epic. Consider starting small, as in: low mileage, short duration, and small elevation gain.
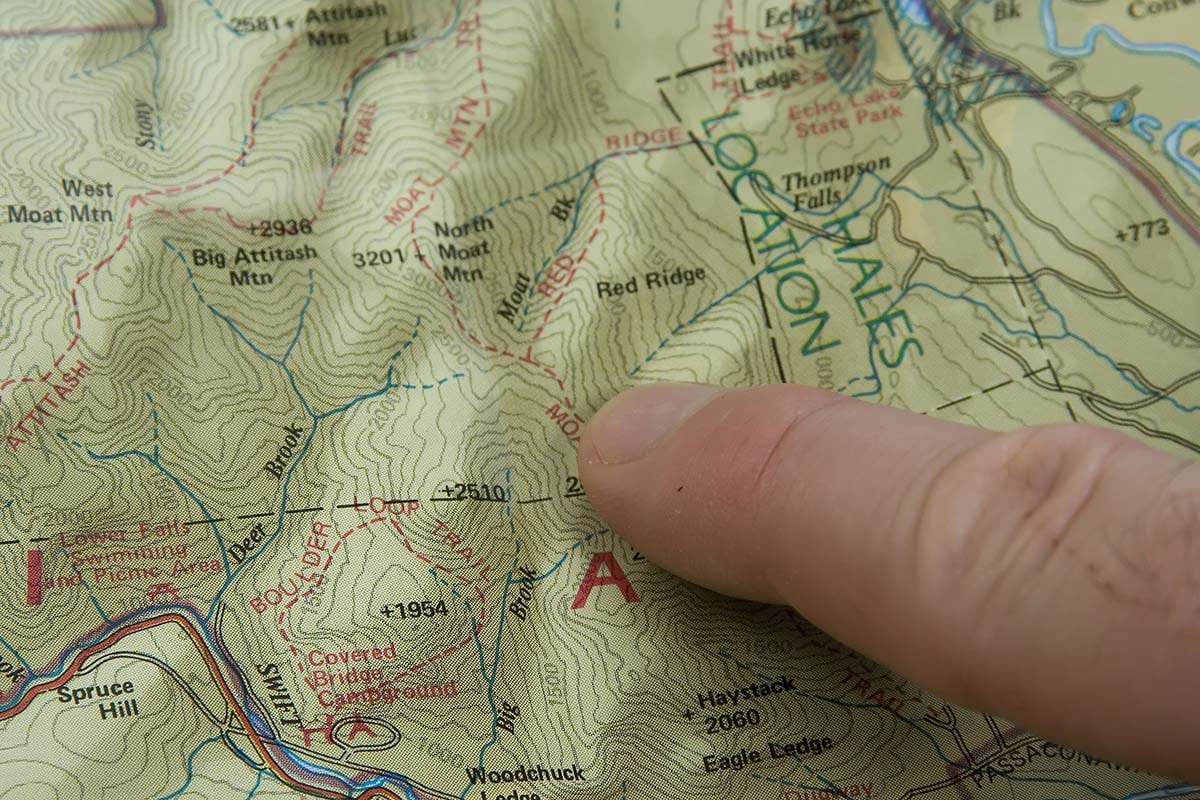
Another way to set yourself up for success is to stick to somewhere you know. Pick a trail you’ve hiked before, or an area you’ve already backpacked with a group. Going somewhere familiar will help you visualize your success and help relieve some of your stress both pre-trip and on the trail.
If you’re not used to sleeping in very remote places, don’t choose one for your first solo trip. Pick trails you know will have other hikers and plan to set up camp in popular locations.
Learn from those who have done it before by joining local Facebook groups, online forums, and apps for specific tips and information. These will help you paint a detailed mental picture of what your adventure will be like and and allow you to find up-to-date answers to your extremely specific questions.
Some great examples include the 14ers.com mobile app if you’re planning to hit the trailheads for any of Colorado’s 14,000 foot peaks, and the Big Bend Chat, a comprehensive forum for all things related to the Texas national park. If you don’t find a solid resource for your specific area, take a glance through recent comments for your prospective route on an app like AllTrails.
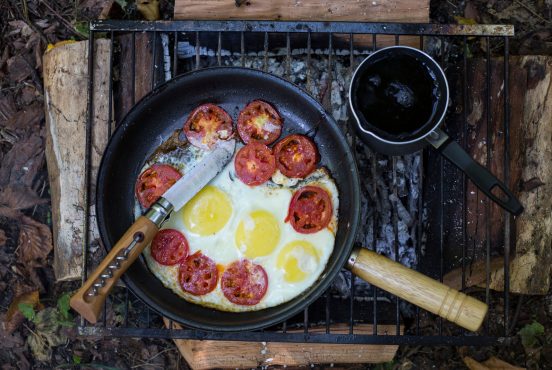
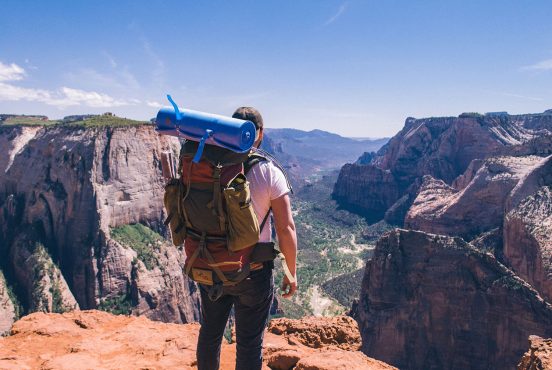
Step 3: Pack for Solo Backpacking
Once you’ve designed your adventure, it’s time to pack! Packing for a solo backpacking trip is just like packing for group backpacking, except you get to carry it all.
Embrace the Ultralight Mindset
Ultralight backpacking is all about being extremely purposeful about what you pack, which makes it great for solo backpacking. After all, every ounce matters when you have to carry it yourself.
Unfortunately making the transition to ultralight gear can come with a hefty price tag. The three most common ways to go “ultralight” are to cut weight on your sleep system, shelter, and pack. Even if you have the extra cash to drop on new gear, you may not want or need to. Here are some ways you can cut weight with what you already have.
Sleeping bags are a great way to save weight, because they can vary by a matter of pounds. Down bags or comforters are warmer, lighter, and pack down smaller than synthetic options. Instead of bringing a pillow, save space by filling your bag’s stuff sack with clothes and covering it with a bandana or a Buff. Foam sleeping pads are not your lightest option, but if that’s what you have, consider trimming the pad to your height, or even just the length of your torso, to save weight and space.
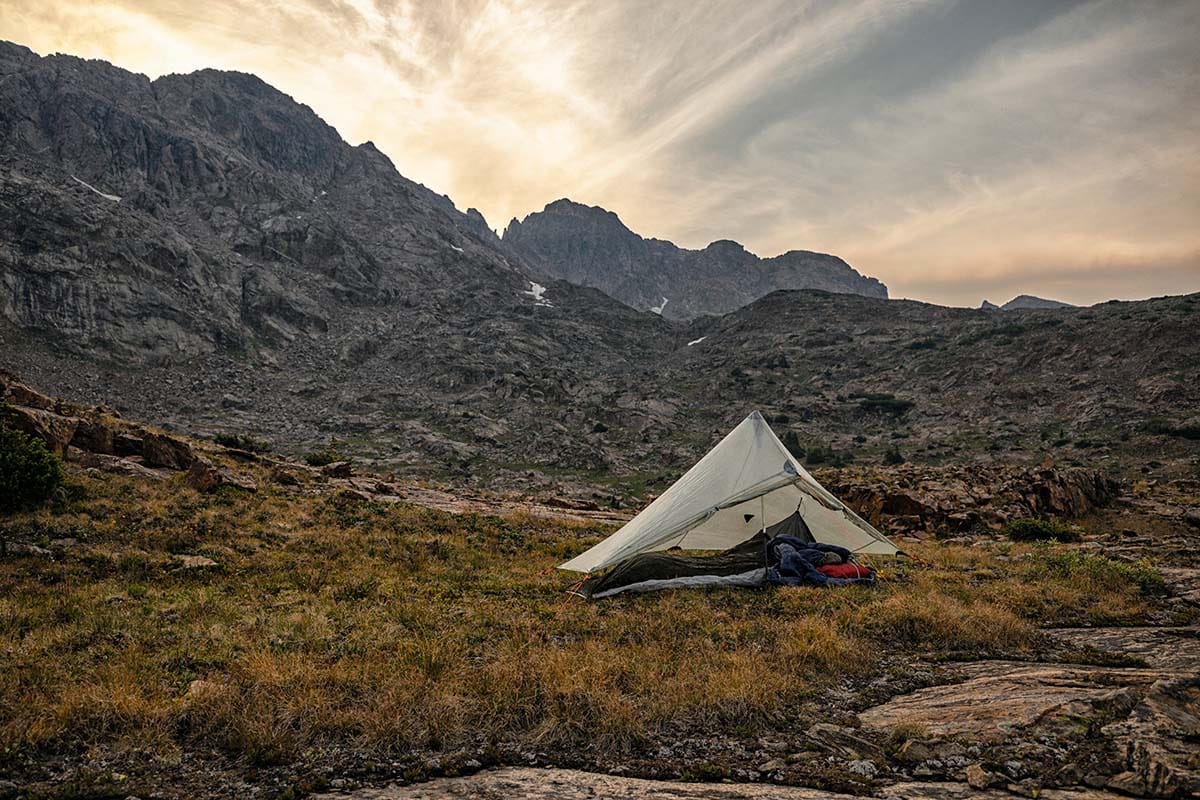
As far as shelter goes, think beyond the tent. Depending on the climate, terrain, and your comfort level, you may not need one at all. You may be able to set up your tent using your hiking poles or tying it to a tree, which would free up weight and space by leaving your tent poles at home. If your area has plenty of trees, you could bring a hammock instead.
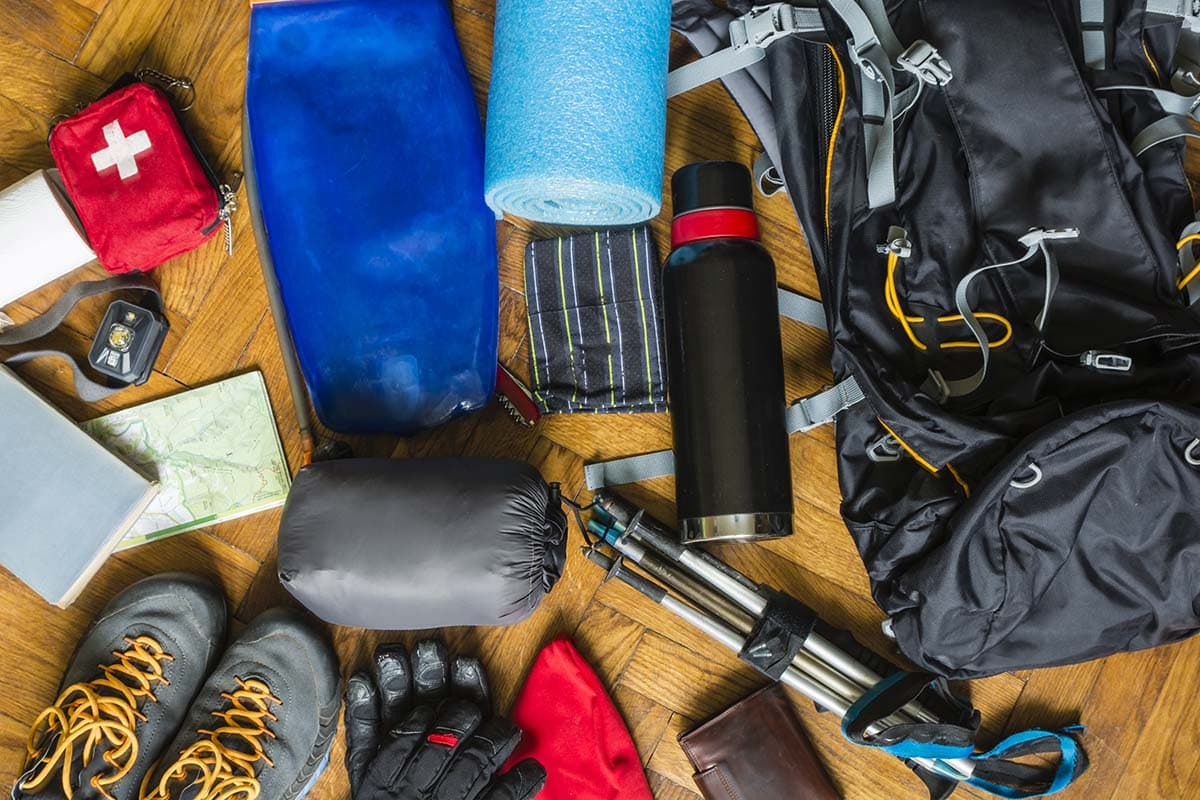
The 10 Essentials & the 3 Ws
Almost 100 years ago, a wise group of outdoor enthusiasts put together a list of 10 essential items to have with you in the backcountry. With some modern adaptations, the “10 essentials” are still applicable today.
The 10 essentials include: navigation, headlamp, sun protection, first aid, knife, fire, emergency shelter, food, water, and clothing. In addition to the 10 essentials, you of course need a sleep system (pad, bag, tent), protection, and proper footwear.
Since solo backpacking trips have a narrow margin for error, I find it helpful to pack the essentials while keeping the 3 W’s in mind: weather, wilderness, and wildlife. For example, weather and the type of wilderness in the area will determine how much water you need to carry for each day on trail. Hot temps and lack of shade of course lead to consuming more water. Whether your trail passes near running streams or stagnant water will determine what type of filtration device to pack.
Pro tip: Be thorough when researching water for your trip. Some backpacking routes have designated places to cache water ahead of time.
More Honest Conversations
Those conversations you’ve been having with yourself will come in handy while creating your packing list too. Now’s the time to have a chat with yourself about your comfort level on a few things like sleep systems and protection.
Where do you draw your line for comfort when it comes to sleep, and does that need to be adjusted now that you are responsible for carrying everything? Again, weather and wilderness will help you decide. Consider whether you will likely sleep on rocky ground or a fresh layer of pine needles.
As far as protection, what types of wildlife could you encounter? Is a bear canister or bear spray necessary? What about mosquitos, ticks, or black flies? Are other humans or mountain lions a safety concern? Decide what you feel necessary to pack to protect yourself from threats, and make sure you’re comfortable using it.
The entire process of determining what to pack, make sure you always come back to the ultralight mindset. Is it necessary? Is there a lighter option that I feel comfortable using instead?
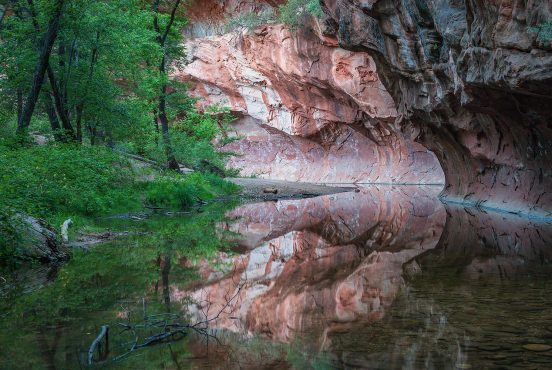
Step 4: Final Preparations for Solo Backpacking
In the weeks/days leading up to your first solo backpacking trip, here’s some clutch things to do to ensure you are as prepared for your adventure as possible.
Finalize & Share Your Itinerary
Now’s a good time to revisit those Facebook groups and online message boards, as well as weather apps to get up to date information on trail conditions, water availability, wildlife reports, and possible hazards/closures. Make any necessary changes to your plan before you send the final version to your trusted person(s).
Speaking of your detailed itinerary, make sure it includes where you plan to hike and camp, where you plan to park your car (or other transportation you will use), when you expect to return, and who to contact in case you don’t return by a certain time.
Gear Check
Take what you learn from your last minute crowdsourcing to also make adjustments to your final gear list. If you were on the fence about needing things like microspikes or snowshoes, hopefully you can gain some clarity based on others’ recent experiences. I tend to put all my “I’m pretty sure I won’t need it, but …” gear in a bag and stash in my trunk. That way I have it at the trailhead if I change my mind or conditions change at the last minute.
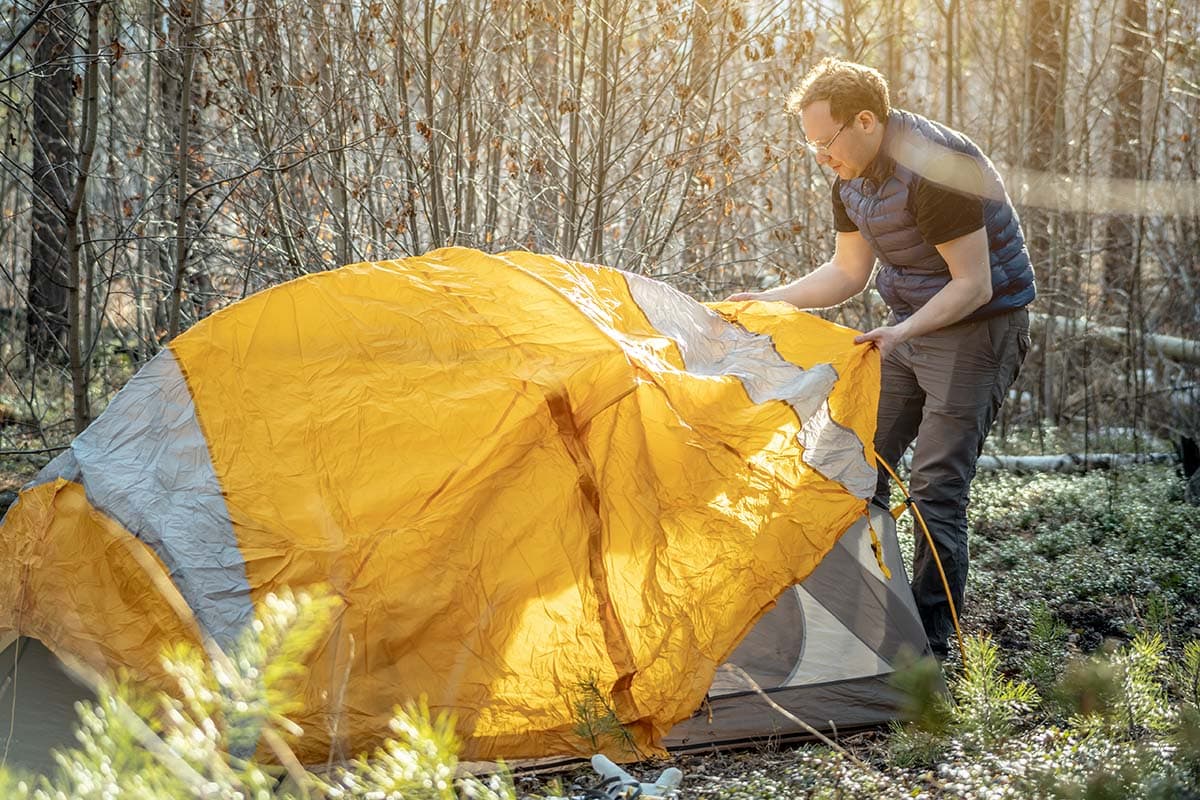
If you haven’t already, now is the time to shake down your gear. Practice setting up your shelter and inspect it for holes. Find a puddle (or fill up your bathtub) and test the waterproofing on your boots. Speaking from experience, soggy feet are the worst, and when you’re solo there’s no one to commiserate with about it.
Once you know your gear is bomber, pack your pack and practice carrying it. This will help you decide if you need to shed some weight, and give you time to figure out what is expendable.
Make sure your cargo is balanced in your pack and that everything fits. If it’s too heavy for a short hike then you have a few options. First, reexamine what you’ve packed and cut down on luxury items. Bring a small journal to draw or write in as opposed to that thick novel you’ve been itching to read.
If it’s still too heavy, it may be time to look into different gear. As discussed earlier, the biggest ways to cut weight are in your sleep system, shelter, and pack. If you plan to sleep in a tent but don’t have a backpacking-specific tent, look into borrowing one or investing in an ultralight option. Ultralight gear can be a game changer, but unless you are an avid backpacker, or plan to be, see what you can do before you spend the $$ on special gear.
Practice Makes Perfect
Already mentioned above, but there’s a reason dress rehearsals are held for live performances. The absolute best thing you can do is a trial run with all the gear you plan to carry on your back. Pick somewhere close by, with similar terrain if possible, go for a hike and then car camp solo.
Final tips
- Make sure you have extra batteries for every device that uses them.
- Put your cell phone in airplane mode to save battery life when you’re only using it for snapping pics.
- Arrive at the trailhead with at least a half tank of gas.
- Have fun! Backpacking is supposed to be fun, right?
More Backpacking Resources
Sign up for Weekend Wanderer to join 10,000+ readers getting epic travel ideas every week.
Seen in: Backpacking