We research, evaluate and select travel destinations based on a number of factors, including our writers’ experience, user reviews and more. We may earn a commission when you book or purchase through our links. See our editorial policy to learn more.
You’ve all heard the saying “take only pictures, leave only footprints.” But “Leave No Trace” is so much more than that.
Every time you head out into the wilderness (by land or water), you’re disrupting the natural world. Leave no trace means to “leave no trace” of the fact that you were ever there. It’s your inherent responsibility to tread lightly and, truly, leave a place better than you found it. Because some people aren’t respectful of nature, other people need to go above and beyond. Leave it better than you found is the next step after leave no trace.
But that’s why “Leave No Trace”, or LNT, was started — it’s a catch-all term to represent general respect and knowledge of the environment and your impact on it. It’s about having a respectful understanding of our natural world and wanting to preserve it for generations to come. The seven LNT principles are an important doctrine and some of the most important things to remember when getting out onto our nation’s wildlands.
By adhering to LNT guidelines, you’re keeping these lands as they should be for future outdoor enthusiasts.
What is Leave No Trace and The Seven Principles?
In order to make things as simple and easy as possible, the Leave No Trace Center for Outdoor Ethics came up with seven principles to follow during outdoor recreation. For the nitty gritty of each principle, head to their webpage. But for a quick and dirty version, read on.
Principle 1: Plan Ahead and Prepare
Nine times out of 10, most of the problems that occur outdoors are usually related to improper planning and poor prep. Maybe you had to turn around halfway into your backpacking trip because you forgot to check the weather and a hail storm ripped through a mountain pass. Or maybe you didn’t make it to your destination because you overestimated how far the slowest person in your group could travel without getting worn out.
You can alleviate most problems with just a little planning and preparation. As corny as it might sound, a safe trip is going to be the most fun trip — after all, the less stress, the better, right? At best, poor planning frequently results in tears and/or anger either from you or someone in your party — at worst, poor planning can result in serious injury or death, as proper medical attention can be very far away.
The basic steps to consider when preparing for an outdoor excursion are:
- Set your expectations first as a group, considering everyone’s skill level and distance they’re willing to go. If you’re with kids, you’ll need to be the judge of what they can and can’t do. For instance, if you want your kid to walk two miles, make sure they’ve hiked close to that on a previous trip. Ensure that the activities you have planned coincide with your group’s skill level.
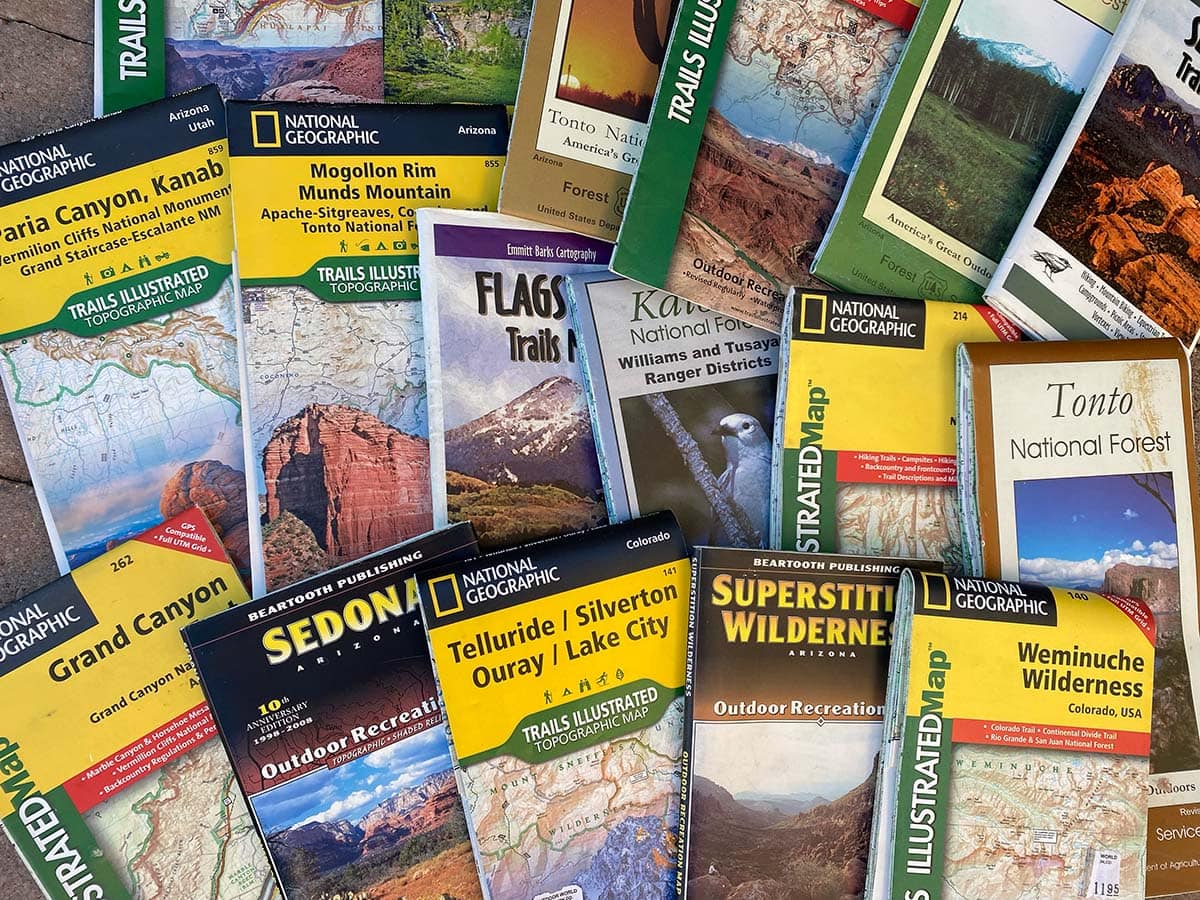
- Gather maps and trail information, whether electronic or on paper — or by calling ahead to the land manager or ranger office. Keep a running list of any regulations or restrictions like fire bans, permits, private land boundaries you might need permission to cross, and group size regulations, pets included. Oh, and a biggie: check the weather and the type of terrain. Make sure everyone in your group is comfortable with it — that goes double for hikes with stream crossings or steep ridgelines.
- Pack everything you’ll need for a safe and fun experience. If you’re in a larger group, figure out in advanced who is bringing what when it comes to shared items like camp stoves and water filters.
This isn’t an exhaustive list of everything that goes into trip prep, but it’ll get you started. Doing these simple steps will help ensure a safe and successful trip.
Principle #2: Travel and Camp on Durable Surfaces
First and foremost: yes, manmade trails change the land by their very existence, so by building trails, we’re already not leaving no trace. But trail-building is necessary part of outdoor recreation if we want people to enjoy the natural world property. That’s why we let pros decide where the trails should be, ensuring (a) they’re constructed specifically to have as little impact on the land as possible and (b) all damaging foot traffic is limited to one area.
Staying on trail is one of the easiest and best ways to keep a place as wild as possible. In many cases, going off trail can damage fragile soils that take millions of years to develop. Here are a few recommendations:
- Don’t take shortcuts, especially on switchbacks. Switchbacks are built like that for a reason, which usually relates to trail grade, water flow, and minimizing trail erosion.
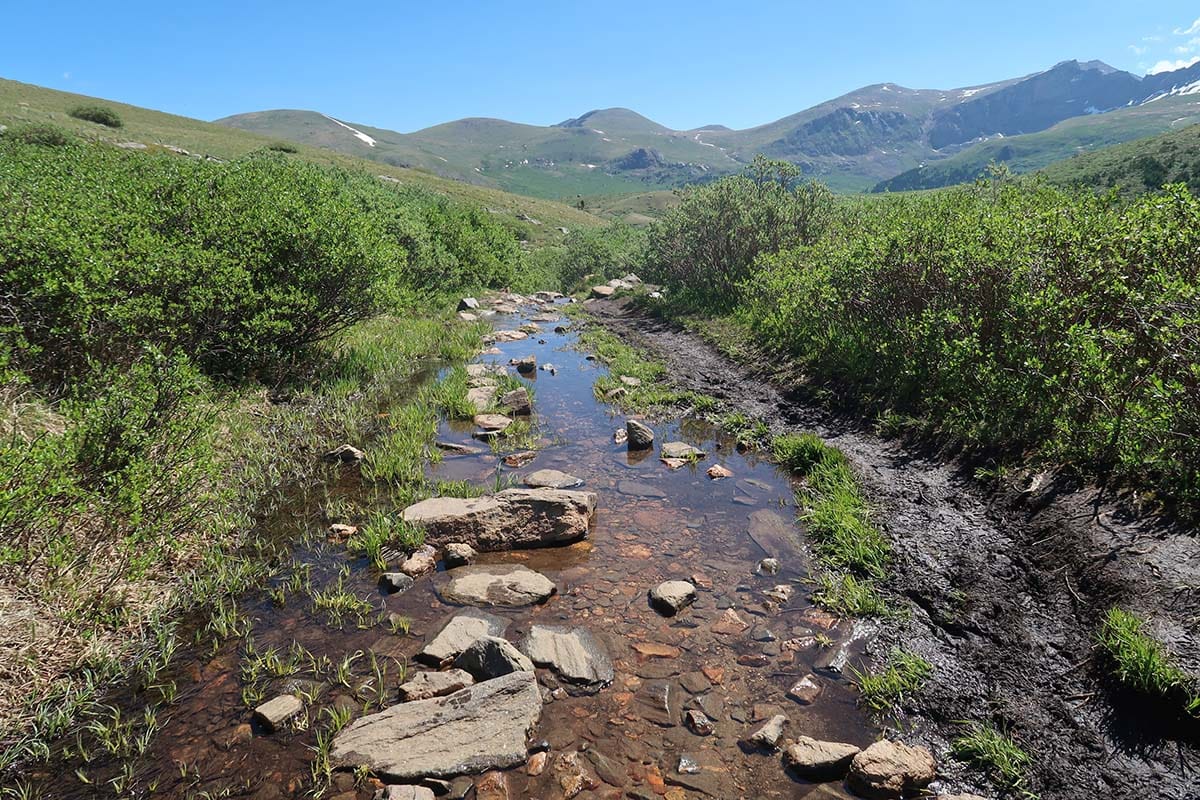
- Muddy trail? Either turn around or go through it — do not go around mud. Doing so widens the trail year after year, impacting the area even more. Many trails are closed when spring rolls around because of the risks of erosion and damage during the muddy season.
- The same goes for water. If you can’t safely ford a stream where the trail crosses, turn around. Don’t go off-trail to find a better way to cross the river.
- Don’t go off-trail to get a better view of something, whether it be a sweeping vista or wildlife (see Principle #6). Literally. Don’t do it.
- Camp at designated campsites. When backcountry camping, make sure to see if there are spots already set up for camping and use those. Otherwise, make sure to stick to durable surfaces like rocks, gravel, etc. when possible. Do not camp on a shoreline. Nearly everywhere you’ll camp has regulations on how far you have to be from the water to avoid runoff; it’s usually anywhere from 75 to 300 feet back.
Principle #3: Dispose of Waste Properly
Let’s talk about poop. It’s currently my 4-year old’s favorite topic, but really, everyone will need to poop at some point while backpacking. Proper outdoor waste disposal depends on two things: the ecosystem and your comfort level. Personally, if I’m day hiking, I usually just carry out my poo with a wag bag. If I’m backpacking or boondocking (without any designated restroom facilities), I use the cat-hole method (see below).
The Idea Behind “Pack It In, Pack It Out”
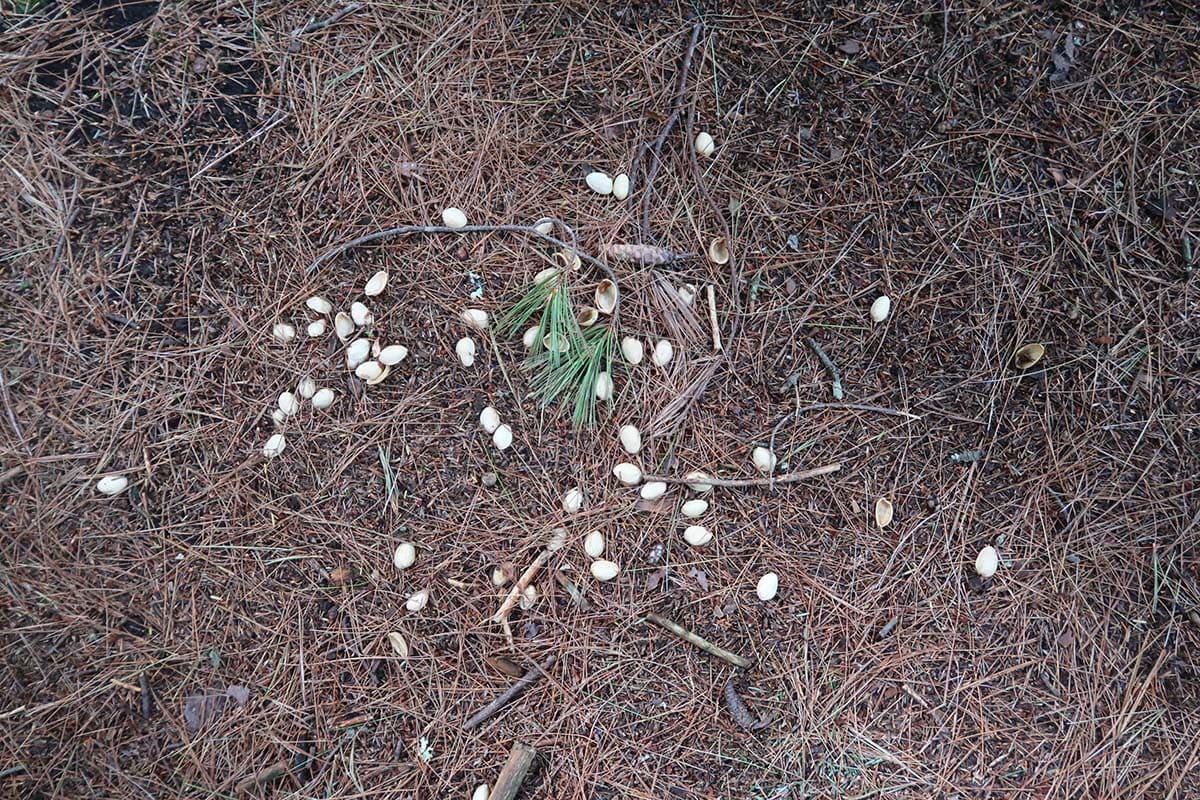
At its core, it’s essential to dispose of all waste properly (not just poop). If you’ve brought in snacks or water bottles or tissues, bring them back out with you. That includes everything that doesn’t naturally appear in the woods, including orange peels, apple cores, etc. Even though they may eventually decompose, they still impact the natural environment and wildlife feeding habits. Bring the 11th Essential with you at all times to keep your waste packed away.
How to Poop Properly Non-arid, Non-alpine Woods
Honestly, just pack it out. You can poop directly into a wag bag (or dog waste bag, though that takes a bit more skill) or pick your poop up off the ground. The second method is best for little kids, especially since they aren’t always good about giving you notice of when they have to poo.
If packing it out doesn’t work for you, bury it. Here are the proper instructions on how to bury poo:
- First, locate an area 200 feet from water, trails, and camps where others aren’t likely to venture into (like areas with thick undergrowth or near downed trees).
- Second, pick a spot preferably in an area with organic soil (the dark brown stuff) that will receive a lot of sun. Dig a hole at least six inches deep and four inches wide with a trowel (usually called a “poop shovel.”)
- Do your thing.
- Finally, bury it with dirt, then cover with natural material like pine needles and leaves.
Disperse cat holes if you are camping in the same spot for several nights or within a group. Even though toilet paper does decompose, try to pack that out when you can. It’s super light so it doesn’t really add any weight to your pack. Do not burn toilet paper.
How to Poop Properly in Arid Environments
The best option is still to pack out your poop and TP; however, you can also bury it. You’d follow the same instructions as the non-arid and non-alpine environments above, but you only bury it 4-6 inches deep. Desert soil has very little, if any, organic matter, so for your poop to decompose as quickly as possible, it almost solely relies on the sun and heat. Try to find a place that’s south-facing or on ridge tops to maximize exposure.
How to Poop Properly in Alpine Environments
The only option in alpine ecosystems is to pack out your poop. You should never dig a hole in alpine tundra as the soil is incredibly fragile, making any disturbance catastrophic. Try to avoid peeing and pooping while in alpine tundra. If you can’t hold it, then make sure you pee and poop on rocks or more durable surfaces. Do not relieve yourself on any vegetation.
Related Read: Everything You Need to Know About Trail Etiquette
Principle #4: Leave What You Find
This goes back to the essence of what LNT is. It’s literally leaving zero human impact. This means leaving natural and archaeological objects “as is,” minimizing site alterations, and avoiding damage to live trees and plants.
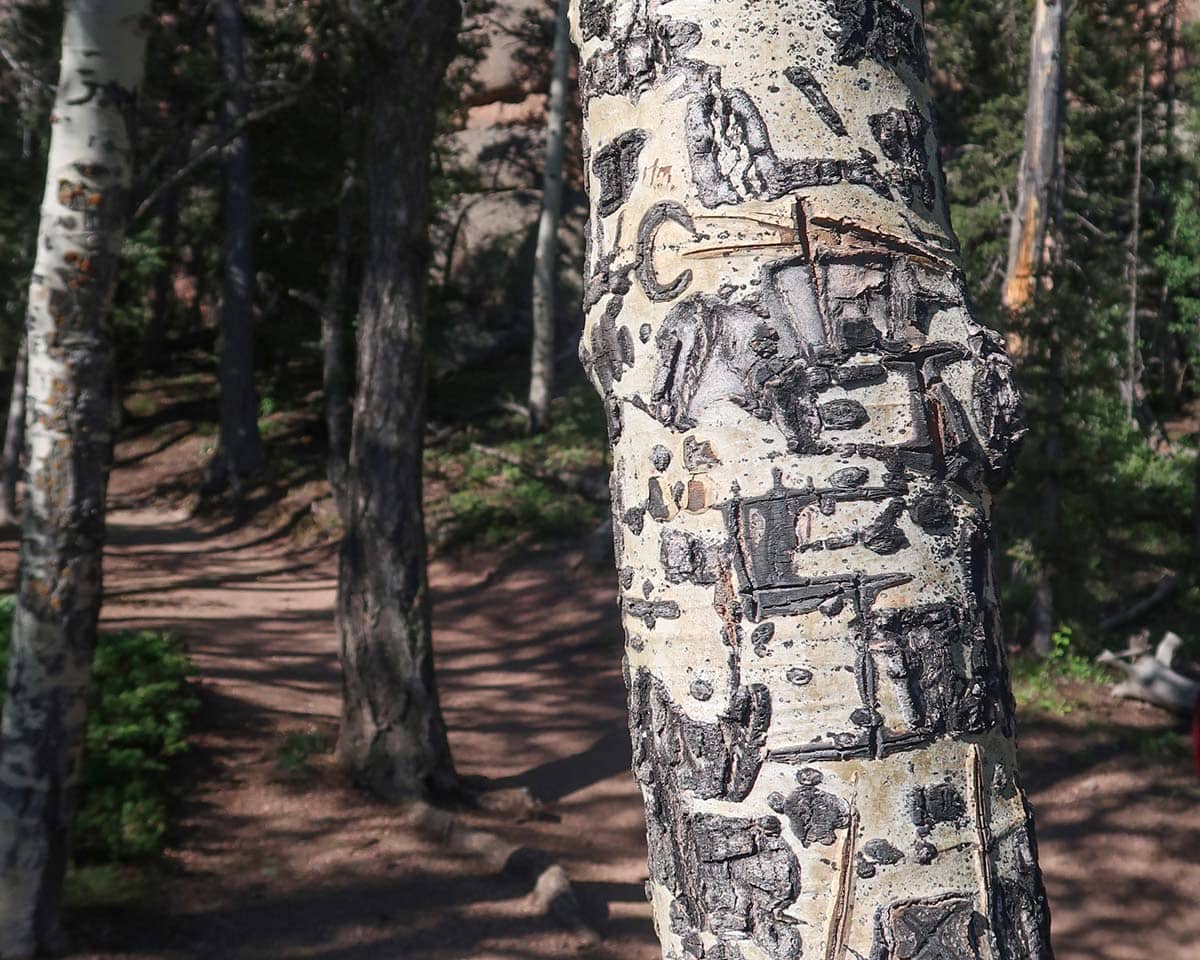
Examples of damaging live tree and plants include but aren’t limited to:
-
-
- Carving your initials into trees to declare your love (You and your BF forever, right?) But don’t ever do this, unless you want tree-huggers to come to your house and carve their name into your door. Seriously. Doing this makes you look like a huge A-hole.
- Cutting down trees for a campfire.
- Hammering nails into trees to hang things like a bear bag (which isn’t the proper way to store food, anyway).
- Picking or trampling wildflowers. I’ve got a small child who loves picking wildflowers so I avoid trails with lots of them during the spring and summer.
-
Examples of natural or archaeological objects include but aren’t limited to:
-
-
- Arrowheads, pot shards, or any other rock
- Dirt
- Pinecones
- Petrified wood
- Antlers
- Bones
-
Examples of site alterations include but are not limited to:
-
-
- Clearing an area for a campsite. You can clear the area, but just make sure to put the twigs and pinecones back as best as possible.
- Construction of any sort, including makeshift benches from tree trunks, etc.
- Propping up rock cairns — this is not only altering a site, it’s unsafe since rock cairns are used as trail markers and changing them could confuse people. And you may be hurting the teeny tiny bugs who don’t want you to suddenly pick up their houses.
-
Principle #5: Minimize Campfire Impacts
Having a campfire is one of the most satisfying things when you’re out overnight in the wild. However, it’s not always a good idea to have one in the first place. In fact, some gear can make a campfire completely moot. Need heat? Make sure to layer up. Need to cook food? Bring a self-contained camp stove. Need light? Bring a headlamp. And don’t forget that in many, many places in the American west, campfires are completely banned. You might need a permit in places where they’re allowed.
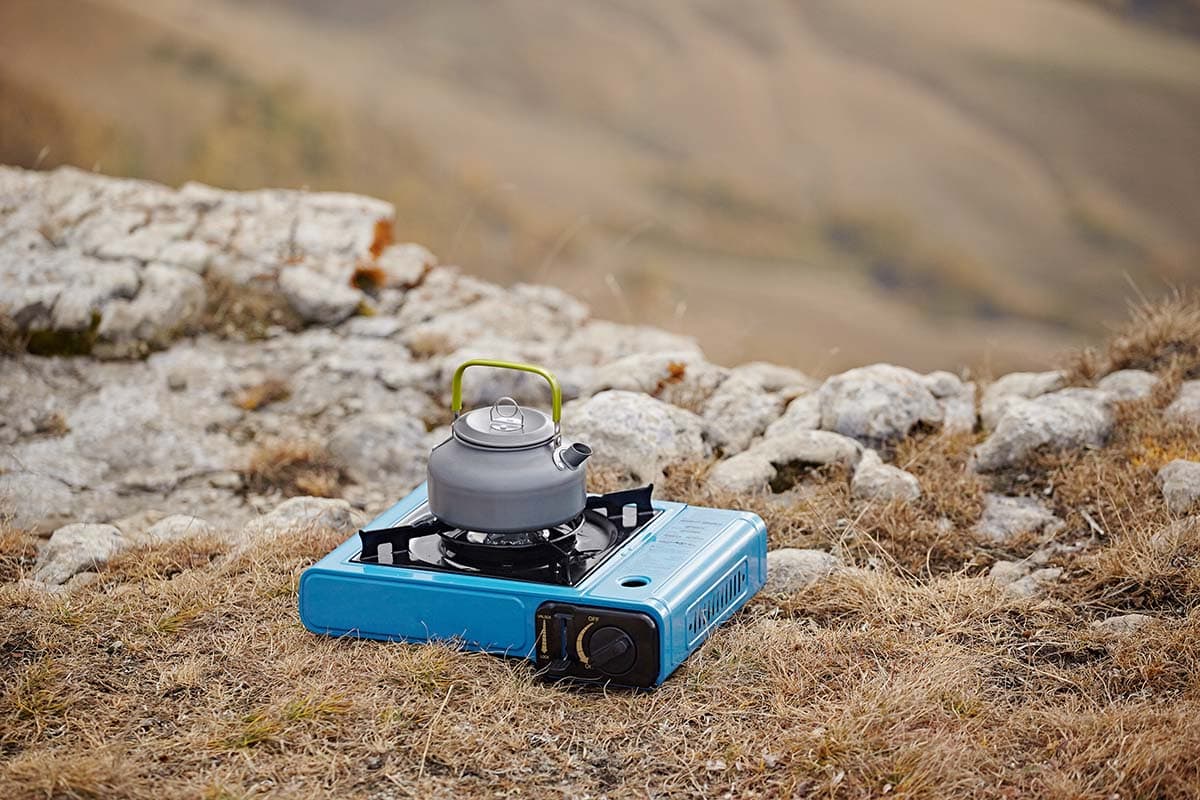
But that said, campfires are fun. Ask yourself the following questions before making one:
-
-
- Is there currently a fire ban or fire danger in the place I am recreating?
- Are there other rules and regulations when it comes to building a campfire?
- Is there enough downed wood to burn or can I bring wood with me to the campsite?
- Can I safely put out a campfire?
-
Remember the four “Ds” if you do make a fire:
-
-
- Dead: Never gather live vegetation (it won’t burn as well, anyway).
- Down: Make sure vegetation is already on the ground. Do not pull branches down or chop down trees (alive or dead).
- Dispersed: Spread out to collect wood to minimize social trails.
- Dinky: Collect wood no wider than a human wrist to keep the fire controllable.
-
Lastly, always put out your campfire completely. A general rule of thumb is to be able to hold your hand in the coals for more than 30 seconds. If you can’t, then keep dowsing it with water or smothering it with dirt until it cools down. Fires that looked like they were out can come roaring back to life 30 minutes later. Needless to say, wildfires are a huge, huge problem. And starting one is a huge, huge crime.
Principle #6: Respect Wildlife
We’ve all seen it so many times — tourists throwing crumbs to an overly zealous chipmunk or putting peanut butter sandwiches in their palm to feed the birds. Those are all examples of poor “Leave No Trace” etiquette and a direct violation of this principle (and often a fineable offense).
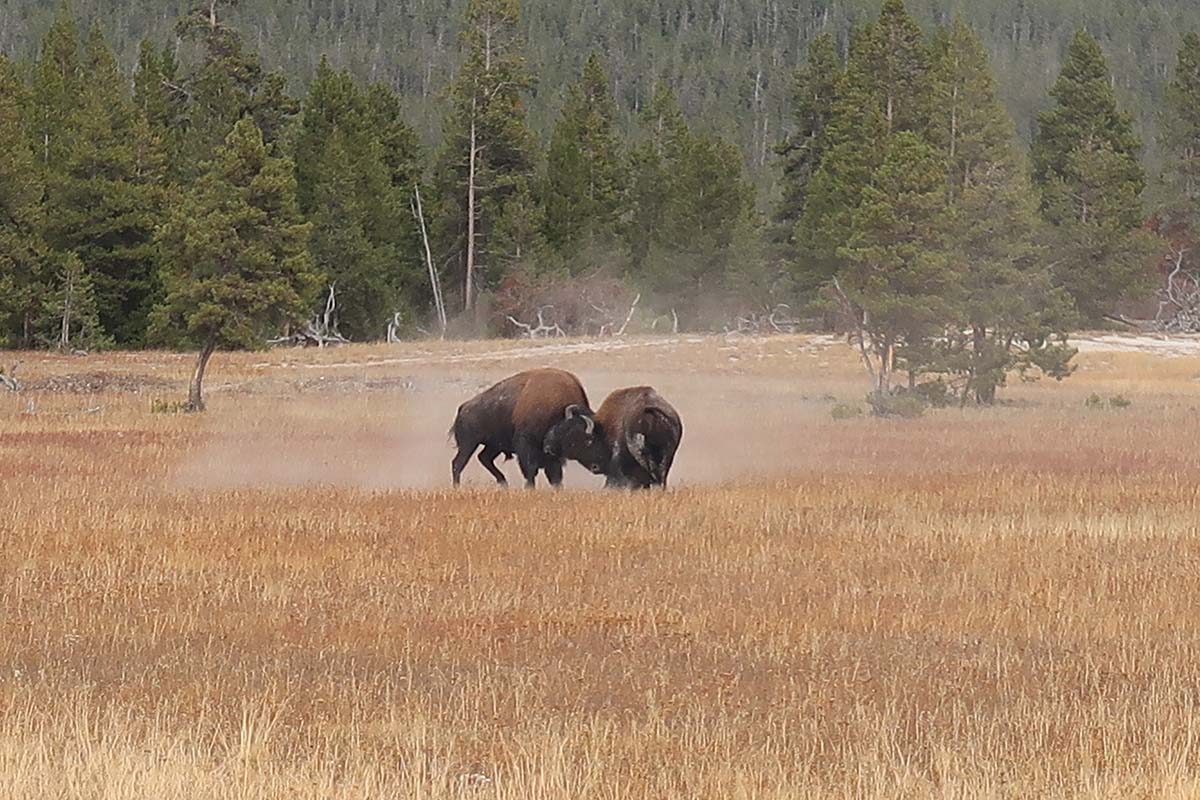
The best ways to respect wildlife:
- Give wildlife ample space — probably way more space than you think they need. Do not go off-trail or try to get closer to an animal just to get a better look. Getting too close to animals in national parks is a crime, and you can be fined or sent to jail.
- Keep your group small and don’t be too loud on the trail as it disturbs most animals — unless you’re in areas where you do have to make noise to scare away animals, like with grizzly bears in Glacier National Park. This goes back to Principle 1: do your research!
- Do not pet wild animals.
- Do not feed wildlife. Animals that become reliant on human food may stop looking for their natural food sources. And because human food does not provide the right nutrition, animals may become malnourished or developed other help problems like obesity. Wildlife that adapt to being fed by humans often are more dangerous because they become less scared of humans and are more likely to lash out if humans approach them but do not offer food.
- Not putting them in your car because you think they’re hurt or abandoned — this happens at Yellowstone National Park all the time, sadly.
- Store food correctly at camp. For basically all of the same reasons as “do not feed wildlife.”
- Just be considerate of our animal friends on the trail.
- Keeping dogs on leash when law requires it, and not bringing your dog into no-dog hiking areas. We love our dogs too, but they’re very scary to most wildlife.
Any stress you put on a wild animal makes them less likely to outrun a predator or hunt for food. You’re potentially fatally harming an animal by not respecting their needs in their homes.
Principle #7: Be Considerate of Others
This one is the most common sense of them all, but perhaps the least adhered to. You learn this in kindergarten. Just be nice, folks. You should do this not just as a decent human being, but it could also save your life. Saying “hi” and having conversations with other hikers can also give you pertinent information about conditions ahead or whether a large moose is waiting just around the corner.
And saying hi is always a way to ensure people notice you and potentially remember you, which could help first responders if something goes wrong and rescuers need to pin down where you were last seen. It doesn’t have to be a long, drawn-out conversation, just a few words of acknowledgement.
But on the flip side, not everyone wants to have a conversation or hear your music on the trail. Actually, pretty much no one wants to hear your music. Remember that your preference is not always the only one.
Also know your trail etiquette when it comes to right-of-way. In general, people going uphill have the right-of-way. On multi-use trials, everyone yields to horses, mountain bikers yield to people and horses, and horses yield to no one. Also, always follow leash laws — they’re there for a reason.
Finally, remember that the outdoors are for everyone. The more people who learn to love and respect public lands, the more land stewards there will be. Don’t make assumptions that people are purposely being mean or harmful — they may just not know better. But now that you’ve read this, you have the knowledge needed to help everyone help Mother Nature. Remember to share not jut knowledge, but good vibes. Kindness goes a long way (for people and places!)
More About Sustainable Recreation
Sign up for the Weekend Wanderer to join thousands of readers getting epic travel ideas every week.
Seen in: Backpacking, Camping, Camping Tips, Hikes, National Parks, Sustainability

